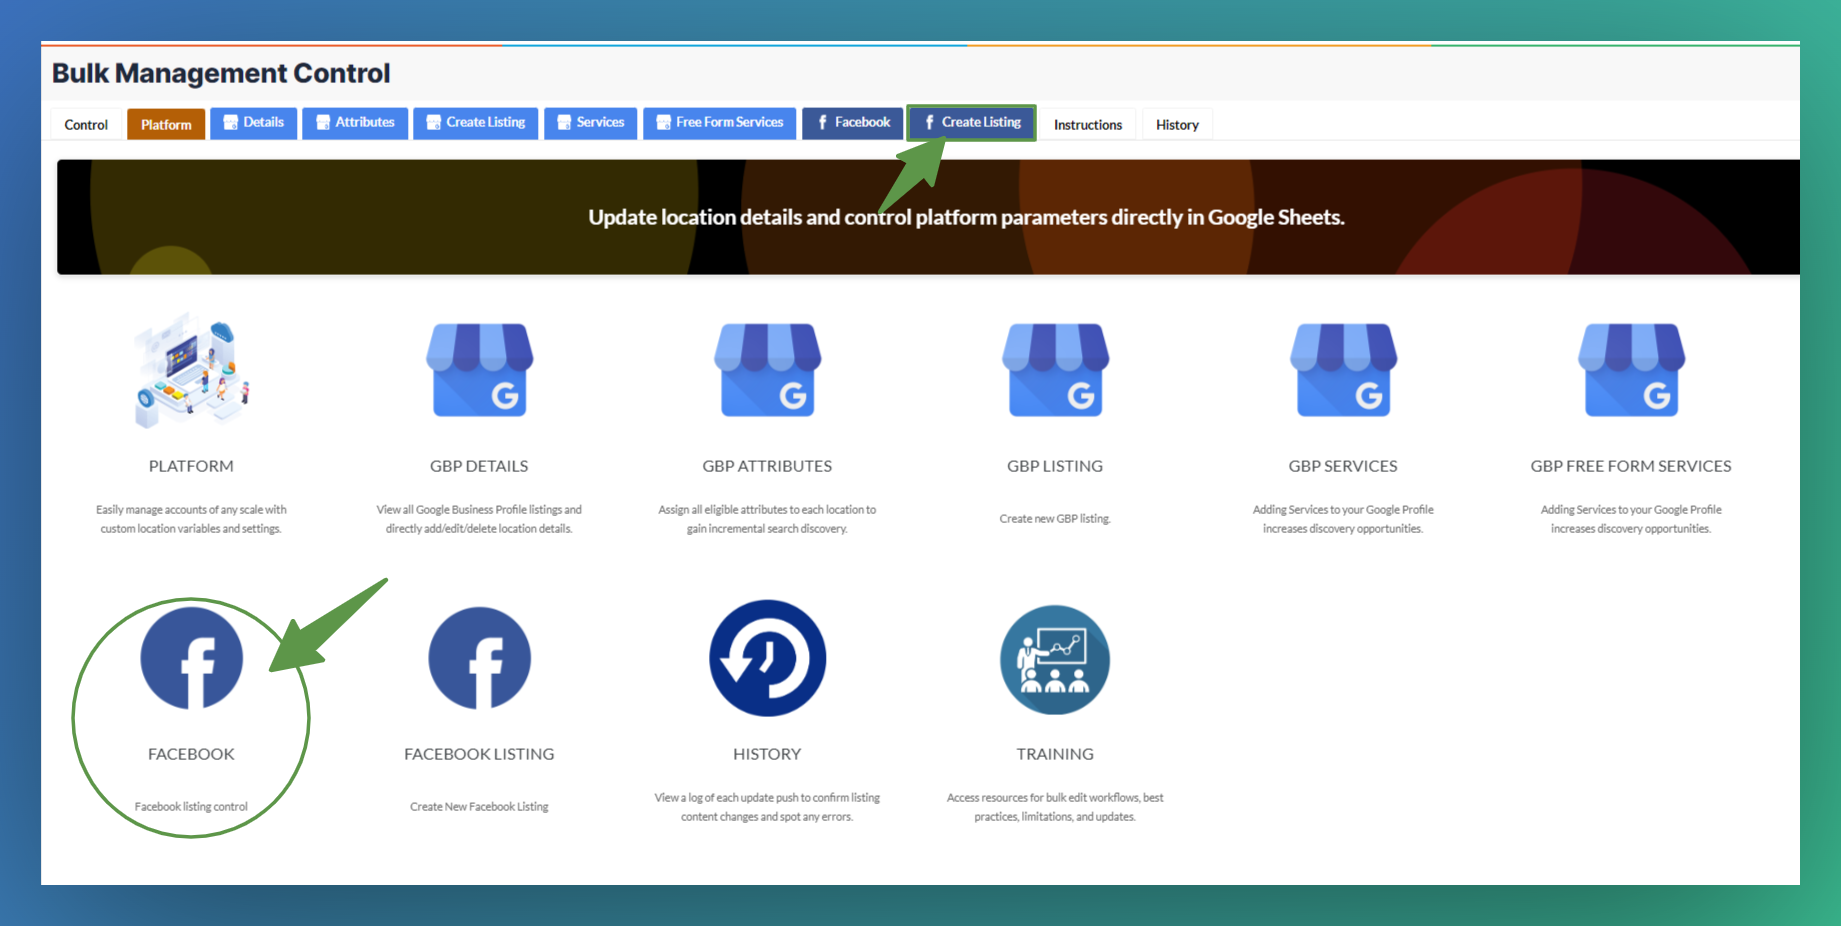
You are able to go to the Manage Locations in Bulk section right now and create a new Facebook Listing.
When you make the API connection with LocalClarity, no longer will you have to log in to the respective accounts to create listings. The same API connection that allows you to make edits to locations also allows you to create local listings. You can go to the Manage Locations in Bulk section right now and create a new Facebook Listing.
The process is nearly identical to creating a Listing for Google, but there are some key differences in how to create a listing for Facebook. Mainly that you will need to provide area code of the phone number for you listing and the Longitude and Latitude of your listings.
Start by going to your Manage Locations in Bulk Section and clicking on the Facebook Listing section.

You then will see a google spreadsheet load on your screen. From there you can fill out the spreadsheet with all of your new stores information.
Make sure that all of the mandatory categories highlighted in red are filled out.

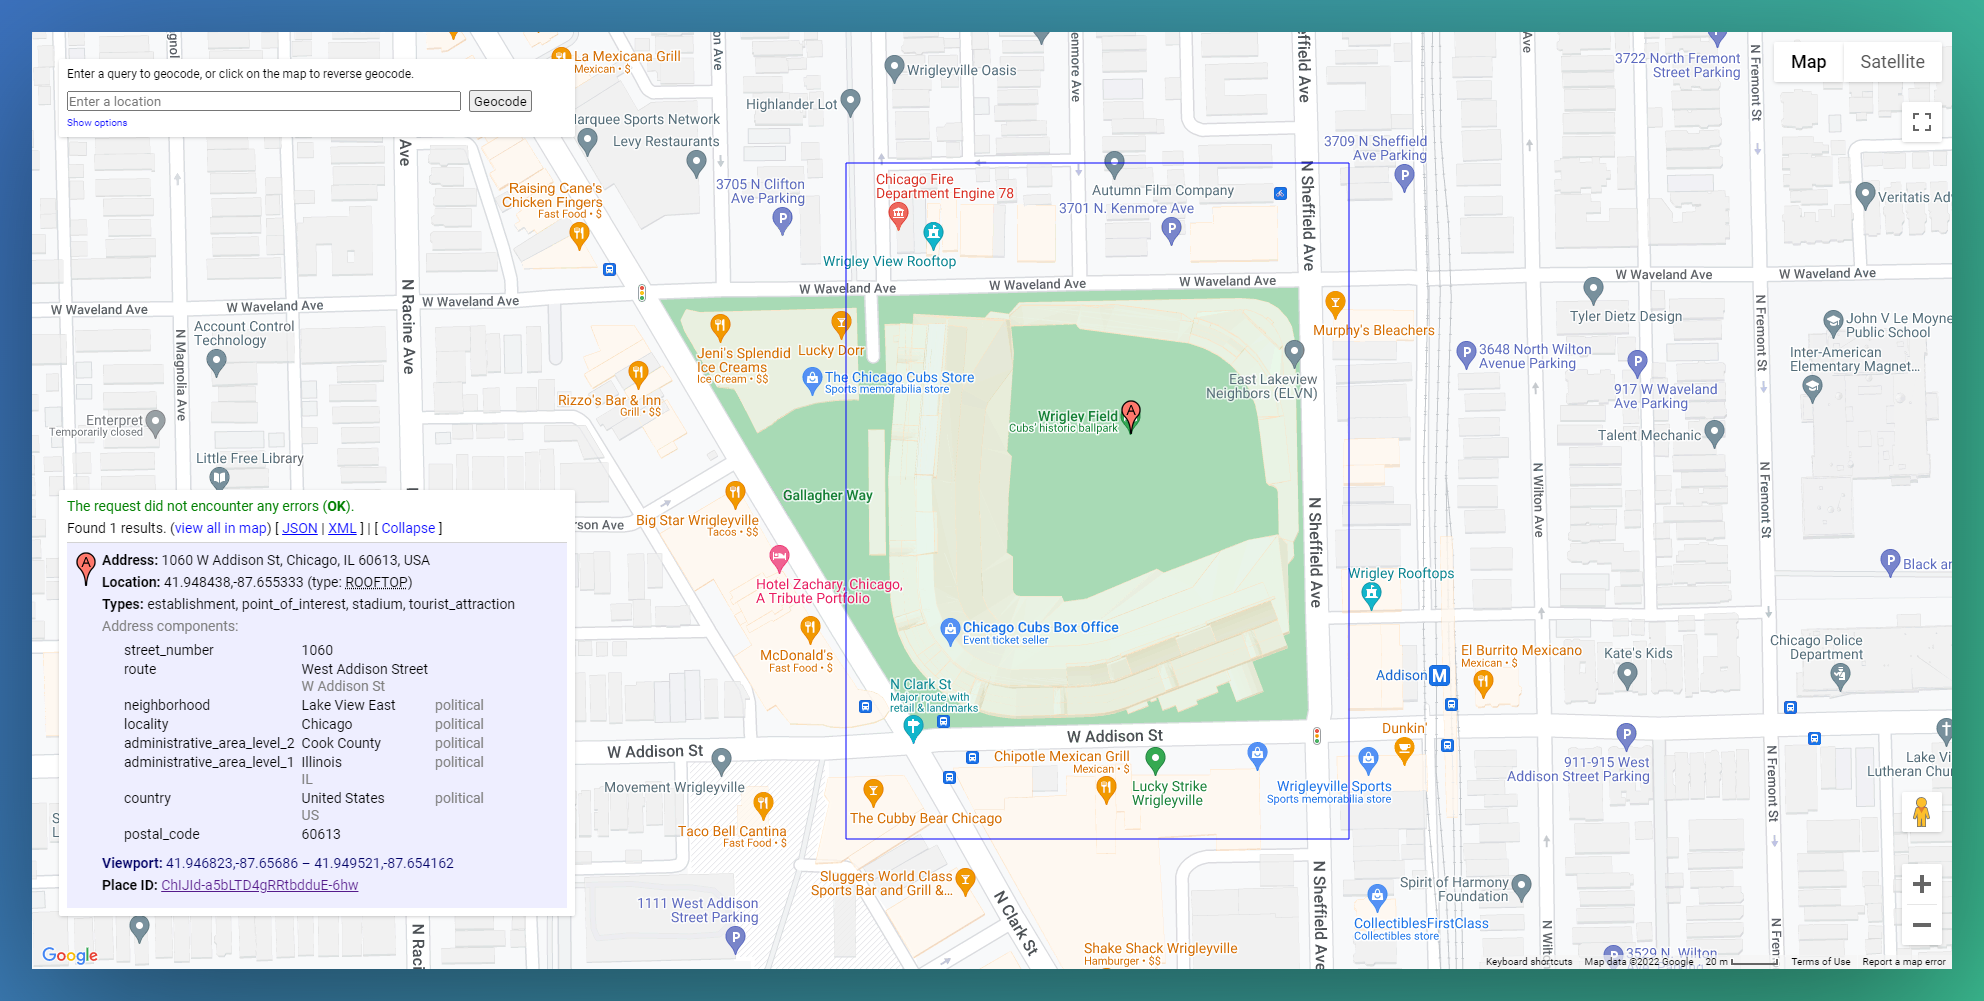
If you do not have the Longitude and Latitude we have a "Get Longitude and Latitude" button in the top right corner. A new window will open. You then can copy the address of the listing you are trying to create to the receive the correct coordinates. All you need to do is then copy and paste them into columns V & W. You now have all of the information needed to create a new Facebook listing.

Press the red Update button in the top right. You can view the progress of the listings creation in the same history tab as the one you viewed your Facebook listing. Your newly created listing should automatically mapped to your GBP listings as well.
If you run into any snags while trying to create a listing in LocalClarity, please reach out to support@localclarity.com.


