All paid subscriptions have an unlimited user count. Invite the whole team to your Profile!
Adding New Users
Both user and role management is controlled in the Settings section of platform. When you navigate to Settings, then go to Manage Users as shown:
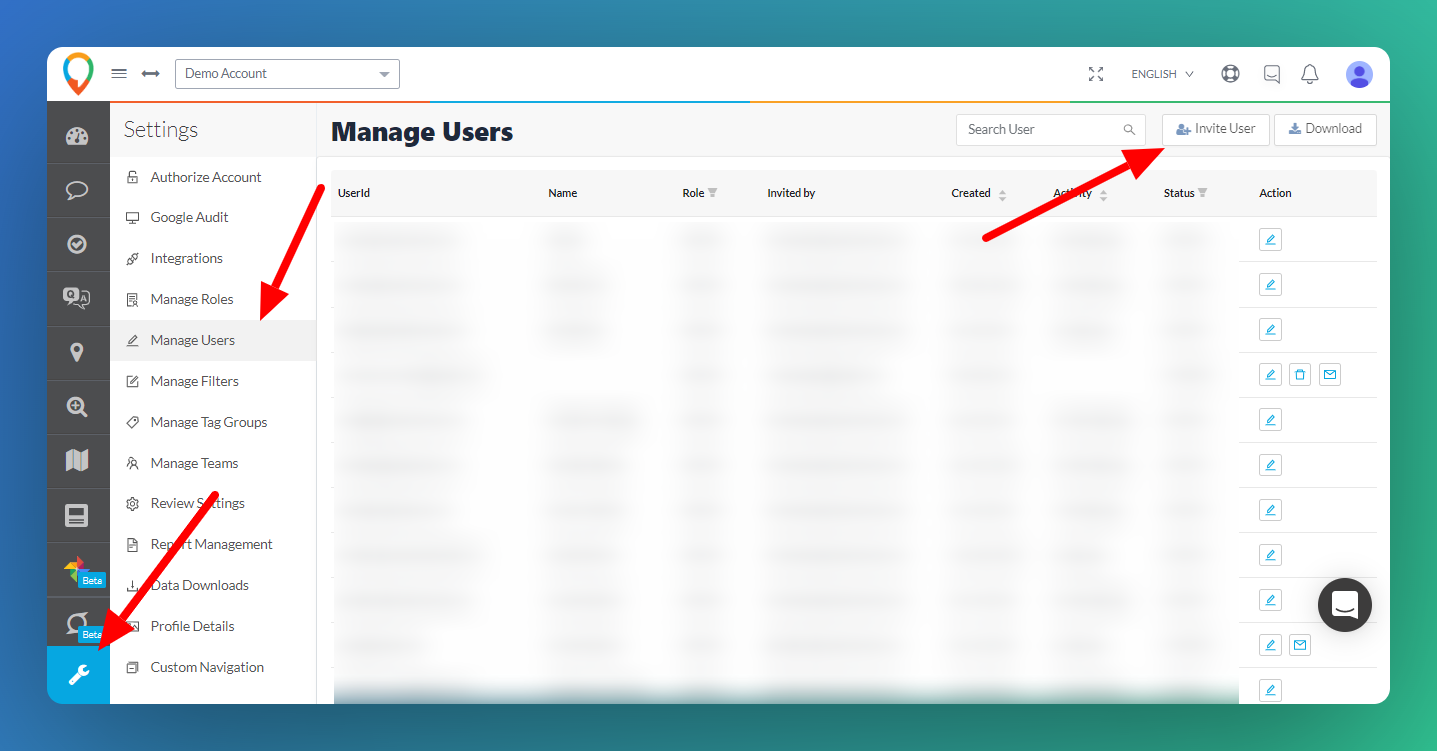
Settings-Manage Users-Invite User
In the Manage Users section, you will see a button in the upper-right corner labelled Invite User. Clicking on this button will trigger the pop-up menu that allows you to enter in the email for the invitation and the role you wish to assign (below).

Invite User
Completing this form will immediately send an invitation email directly from the application. For account Admins the Manage Users table will present all users and their respective status.
Accepting Invite
After you invite a new user, they will receive invite email as shown below:
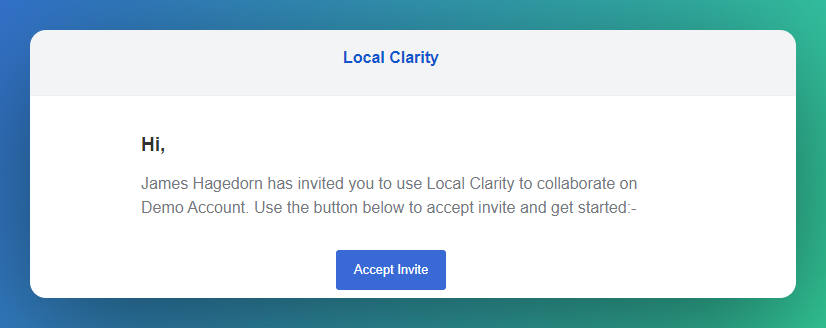
Invite
Once accepted, the new user will be taken to LocalClarity page to enter email (must be a business email), name, and create a password. Once completed the new user will get a message saying a verification email has been sent, as shown below:
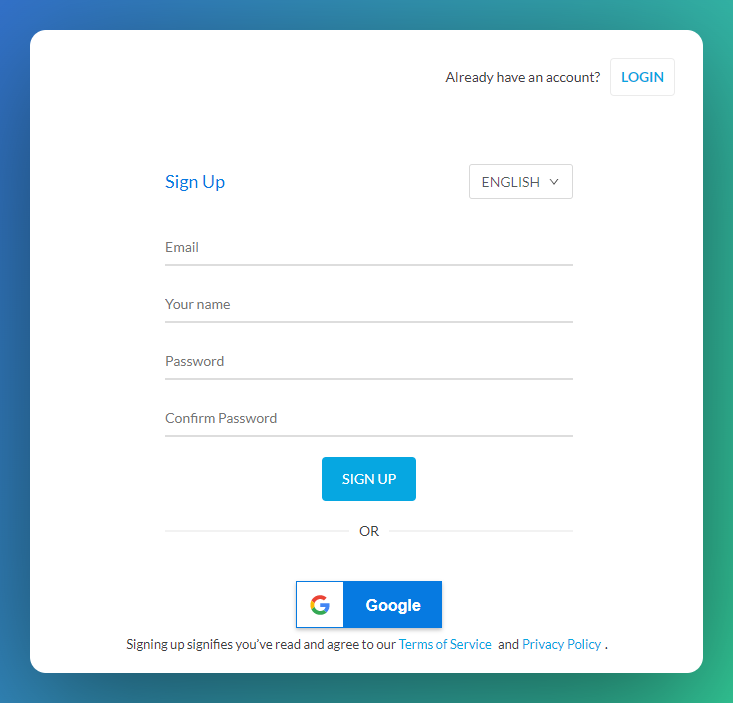
Sign-Up
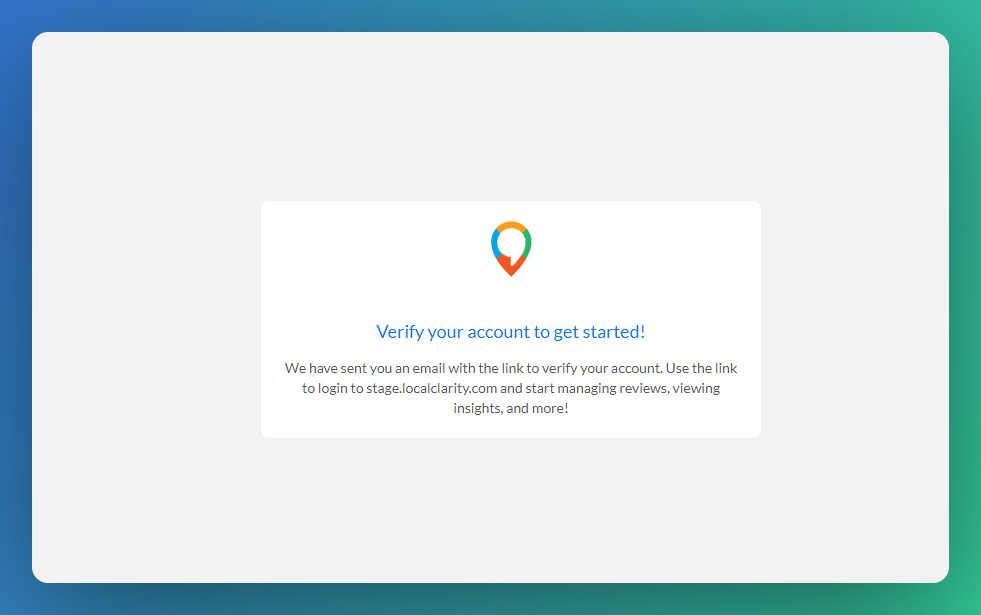
Verify Notice
In their email, the soon-to-be user will need to click on the new email and the verify link they receive, as shown here:
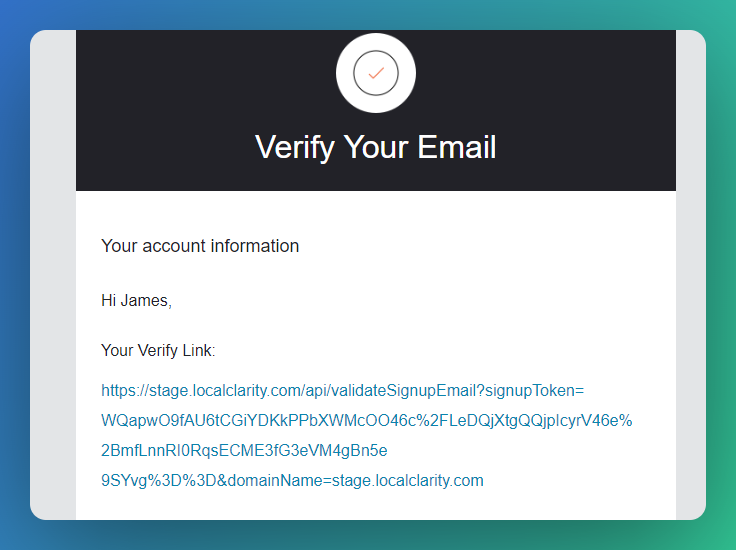
Click to Verify
Now the user can access LocalClarity in whichever role they were assigned.
Deleting Users
Admins and account Owners can add/edit/delete anyone who have been given access to the LocalClarity account. To do so, in the Manage Users screen, select the edit icon of the user you wish to delete, as shown below:
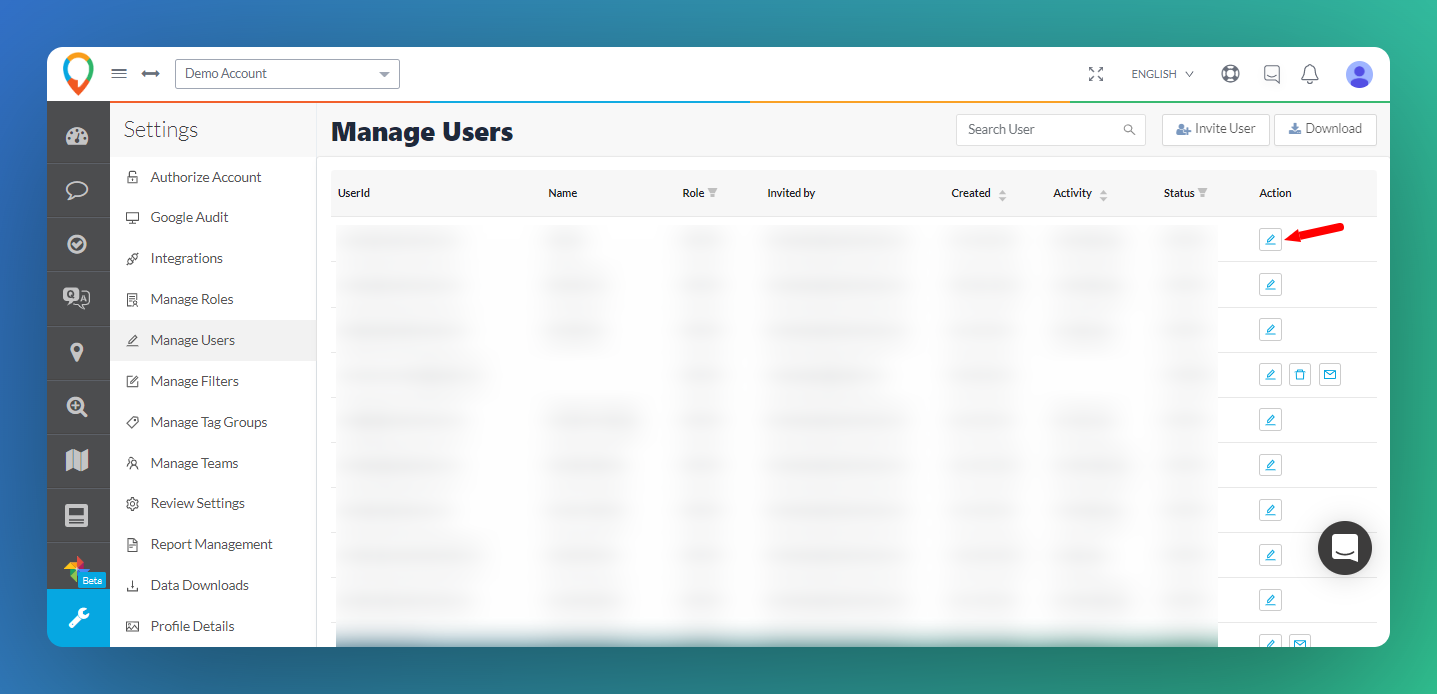
Settings-Manage Users-Edit
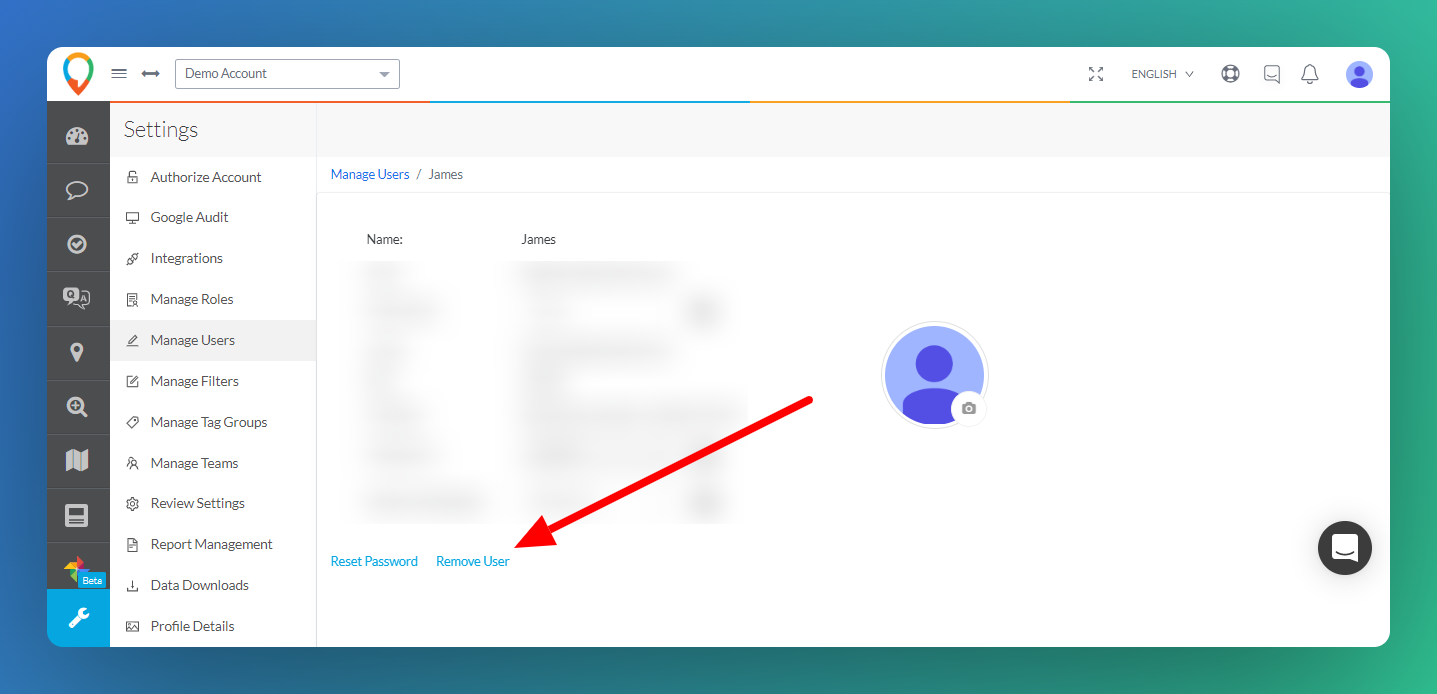
Once in the user's profile, select Remove User to delete that user from that profile. Click confirm to fully remove.
For further assistance, please contact support@localclarity.com


